Red Velvet Cake with Strawberries
15th January 2013 at 11:00 pm

Dear Chibi,
In today’s episode of Chibi’s Foodie Adventures, Chibi explores the art of baking Red Velvet Cakes :D For those unaware, Red Velvet is basically a chocolate cake with red food colouring. So no, it’s not raspberry or anything like that, hehe XD
I was a little nervous about making this since I’ve never used the mixer before. Thankfully, it was actually quite simple once I read through the manual :)
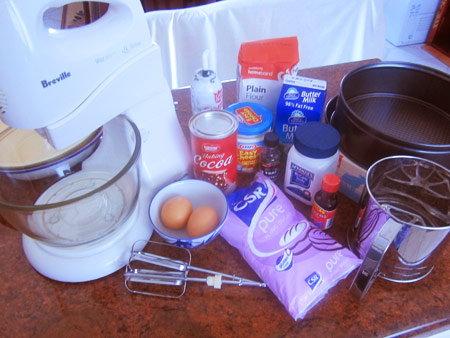
Most of the ingredients used above :) I also bought 2 new 22cm springform cake pans for my cake and a icing spatula :)

First of all I preheated my oven to 180 degrees and greased my pans with butter and flour. Don’t want it sticking! (I probably didn’t need to do the sides but hey I was paranoid so whatever XD)
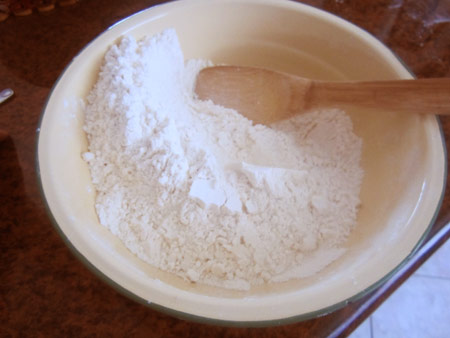
Sifted together 2.5 cups of plain flour, 1 teaspoon baking powder and 1 teaspoon of salt.
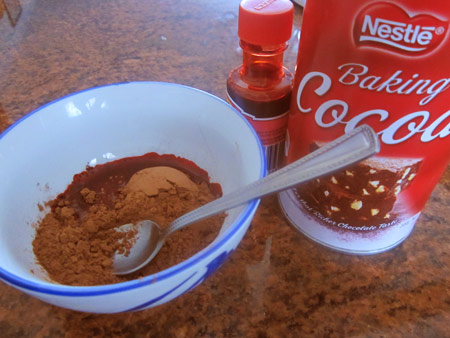
Mixed 50ml of red food colouring with 2 tablespoon cocoa powder to make the paste! Could probably use a little less food colouring if you want a darker shade :)
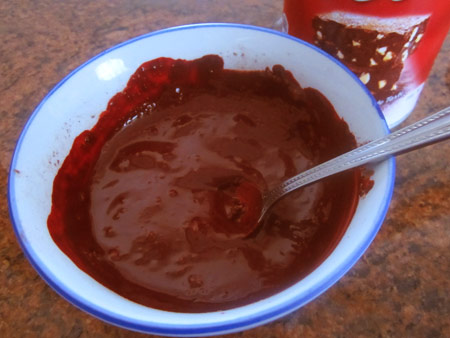
Ooo…so red and gooey..
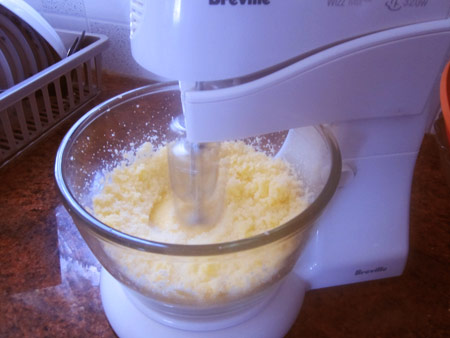
Time for the mixer! Beat in 120g of unsalted butter, 1.5 cups of sugar until light and fluffy :D (Gotta say.. that looked like A LOT of sugar…)
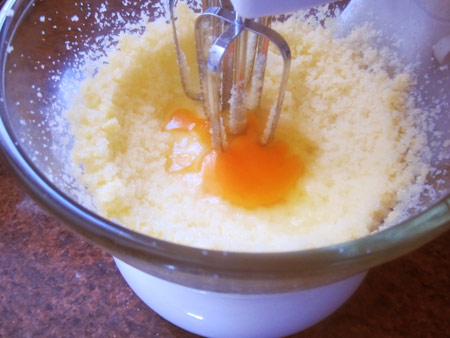
Beat in eggs, one at a time followed by 1 teaspoon of vanilla extract and my gooey red cocoa paste.
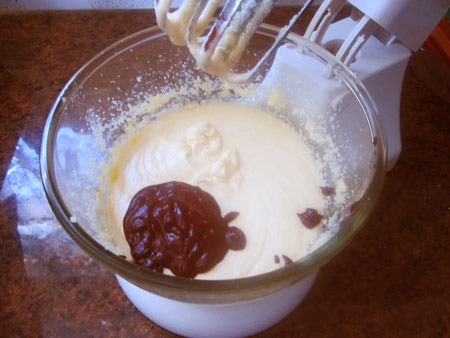
Time to make it red!
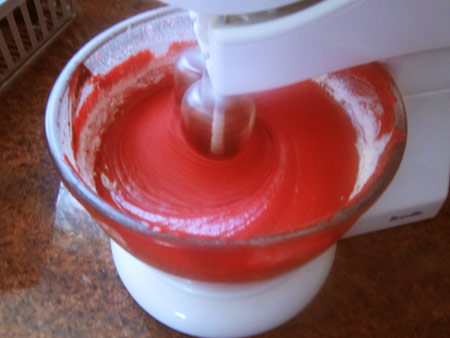
Add one third of the flour mixture, beat well, add in 1/2 cup of buttermilk and repeat XD (Beware of splattering!!)
In a small bowl, mix 1 teaspoon of vinegar with 1 teaspoon of baking soda. Add this to the mix and stir to combine!
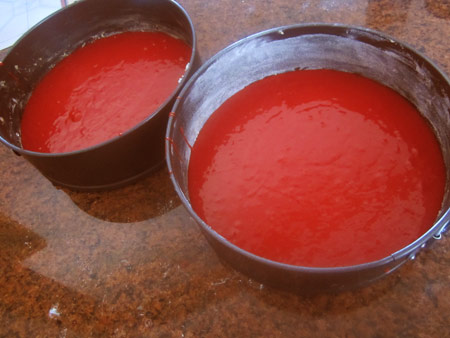
Divide the batter evenly in the two cake pans and put it into the oven to bake for 30 minutes.
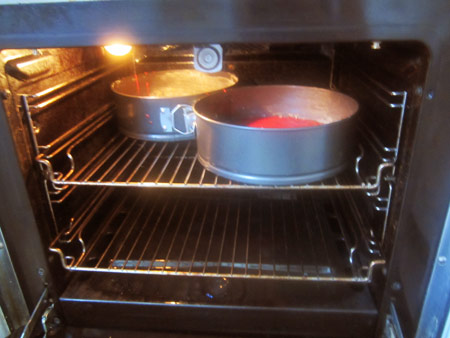
Cook well, little friends :3 Behave and don’t burn yourselves!
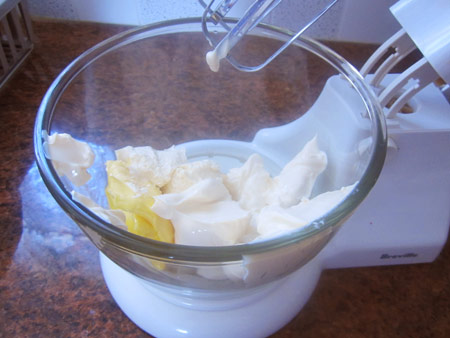
Time to make the icing! (mmm..tastes good..)
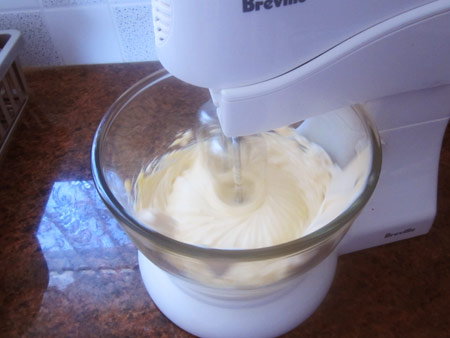
Blend together 450g of cream cheese with 120g of butter

Blend in 2.5 cups of sifted icing sugar, a pinch of salt and 1 teaspoon of vanilla extract. Beat until light and fluffy! :D
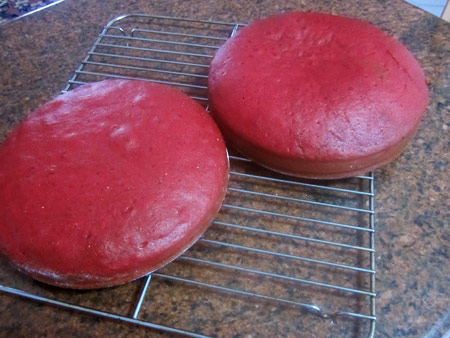
Cakes are now ready and fresh out of the oven. I think they’re looking pretty goooood!
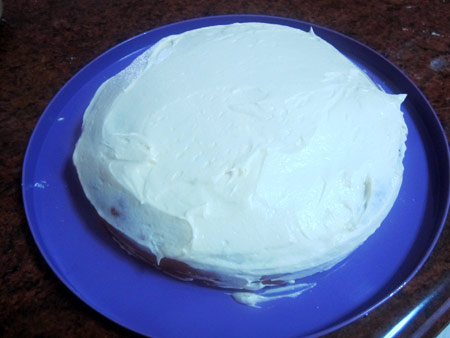
After cake has been cooled, apply a layer of icing over it and sandwich it like a macaroon 8D!
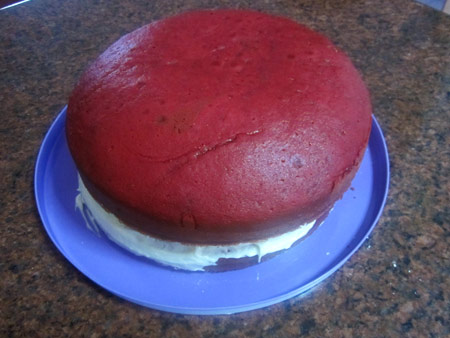
hmm..red burgar XD
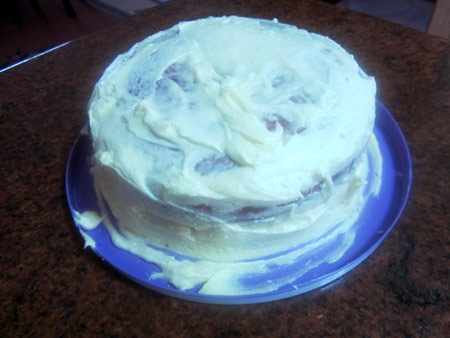
Apply a thin layer of frosting around the entire cake using a spatula to contain crumbs. Put it in the fridge for 15 mins to let it set.
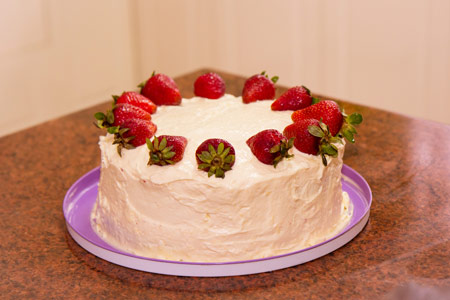
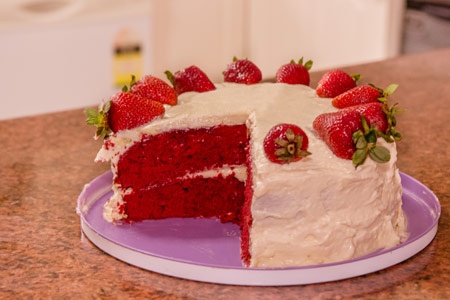
Finally, cover the cake with the remaining icing and smooth it out with the spatula, working on the top surface before doing the sides~ To make it more pretty, I decided to add some strawberries :3
TADA!! A very fun and yummy cake to make but also very messy ^^;; Red colouring everywhere!!! I feel like I learned a lot making this and look forward to trying more cakes in the future :)
nom nom nom
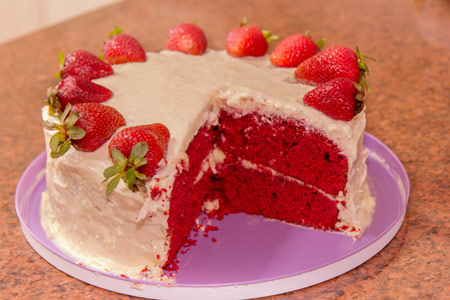
Enjoy :)
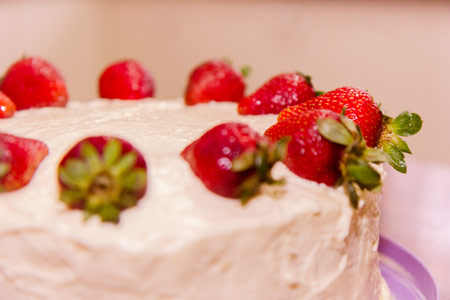
As usual, the super pretty pics were taken by Jacky :3


Wow looked like alot if work! And wow the cake actualy tastes really good. Cant wait to try more =)
Thanks ^^ Was a lot of work!! XD Lot’s of working cleaning and washing up.. XD
It looks amazing (>O<)~
Thanks ^^
yumeeeeeee!!
slightly disappointed knowing its not not raspberry flavoured or something like that..and only cocoa..XD
oh wells, it tastes great!! :D
No probs, more other types of cake will be made in the future ^^
[…] many years ago, and has a special meaning :) And of course, knowing how long it took me to make my red velvet cake, I knew I would need to devote an entire day to it. So on Friday, I took the day off work to get […]